I have been working on this quilt on and off for two years or so. I did not paper piece the main body of the quilt as I did not know how EASY paper piecing is. I would try to avoid paper piecing at all costs because it sounded hard. My friend Sharon from quilt guild taught me the basics and it's great! I wish I had done the whole quilt top that way.
 |
| Storm at Sea happens to be block of the month at guild right now! |
I'm working on a border to make it queen sized and decided to paper piece the corner units on the border. They are very large units and I thought it would make a perfect paper piecing tutorial. If you would like to follow along and make this block you can find templates at
quilter's cache for free.
Materials: clear plastic rotary ruler,
Add-a-Quarter Ruler, rotary cutter, acid free stick glue, scissors and a seam ripper just in case

Cut your pieces VERY generously. I made my square and white triangles much larger than they needed to be, which was good. The light blue triangles not so much... live and learn. I recommend doing this project with solids or batiks for the first time. No wrong sides to the fabric. With prints it's easy to sew things together backwards. Print as many templates as you will have blocks. Most paper piecing templates will include 1/4" seam allowance, but because I increased the size of the pattern, I have to add it back in at the end on mine.
With a small amount of glue, glue the center square RIGHT SIDE UP on THE BACK of your print out.
 |
| Hold it up to a light. Does your triangle overlap by at least 1/4 inch from the line you're about to sew on? It should. |
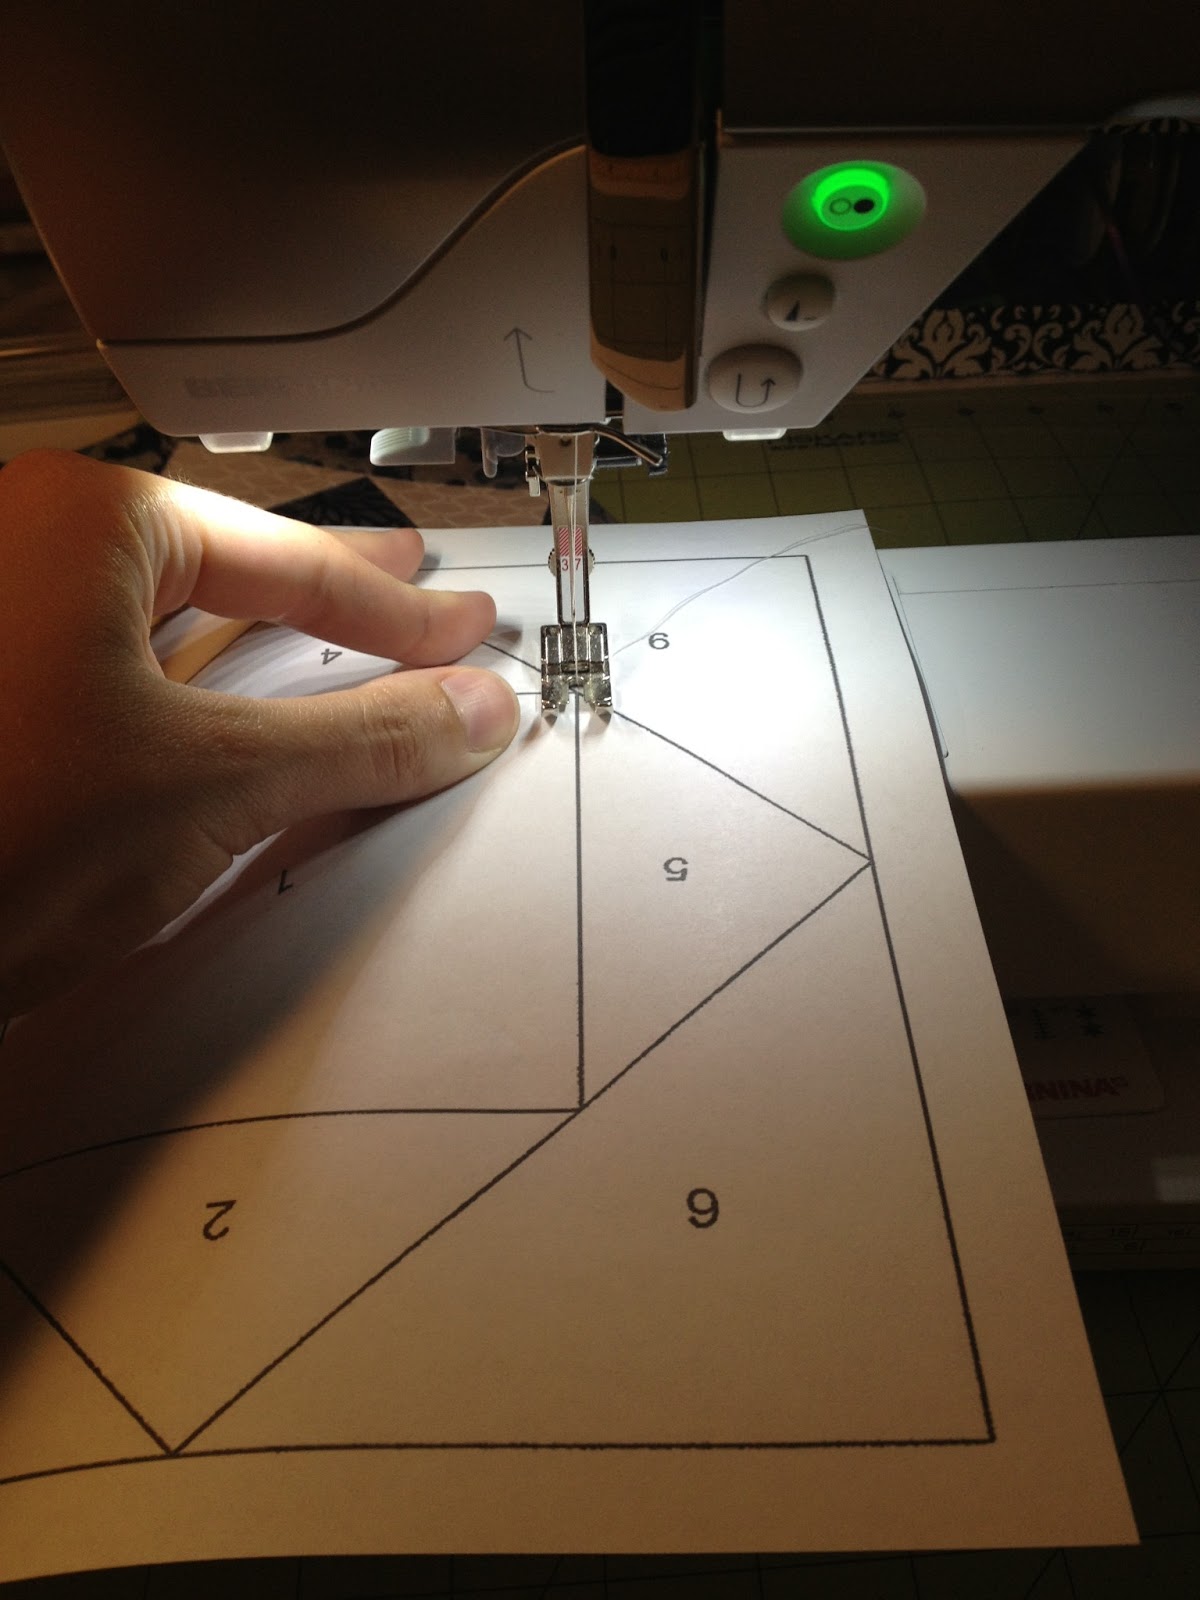
Lay down your first triangle FACE DOWN. (I know it looks face up. Thin white on white fabric. So sorry!) Most paper piecing patterns are numbered and you add the pieces in that order. I like to do opposite sides of the square at the same time to save trips to the ironing board. Either way works fine.

Flip it over and sew on the line end to end. Use a small stitch length (I use 2mm) and on my Bernina I use stitch 1324 (optional). Stitch 1324 secures each end with small stitches.
Flip it back over and it should unfold to reveal two beautiful right sides on top.
Flip it and hold it to the light. That triangle should cover the printed triangle by at least 1/4". As you can see we have a generous amount extra here.
 |
| Add the white triangle to the opposite side of the blue center square. |


To get perfect 1/4" seams roll the paper back and press it down, exposing the fabric. Using your Add-a-Quarter ruler, cut off the excess fabric in the seam. Flip and press open.

Add the next two triangles to the other sides of the center blue square, sewing over the triangles that are already attached. You basically repeat the same steps to attach these.
1. Lay triangle down
2. Hold up to light to check seam
3. Sew paper side up
4. Flip triangle back to make sure the area you need covered is adequately covered (with seam allowance)
5. Trim seam with Add-a-Quarter ruler
6. Press open
You should have white triangles surrounding your center square at this point. For this part of the block it is a square in a square in a square so we have four more triangles to add. You do these in the same way.
 |
| 1. Lay down triangle |
 |
| 2. Hold up to light to check seam |
 |
| 3. Sew paper side up |
 |
4. Flip triangle back to make sure the area you
need covered is adequately covered (with seam allowance) |
 |
| 5. Trim seam with Add-a-Quarter ruler |
 |
| 6. Press Open |
Then you are basically done. I like to trim my sides with 1/4" seam allowances with my clear rotary ruler.

Just look at that gorgeous point on the square!!!! Perfect every time with paper piecing.
I do not tear the paper off until I have sewn a unit to another part of the quilt. If you used the right stitch length it should tear off fairly easy. Do this very slowly and carefully so you don't ruin all your hard work!
Happy Piecing!
-Allyson


 For the challenge, we were each given a paint chip from the hardware store and we were to make a quilt using that color. We were able to add neutrals. Needless to say, I didn't finish in time for the challenge. It sat on the back of my chair for a long time and I decided to pick it back up. I just finished quilting it with my walking foot and decided that the appliques needed more definition. Using the zig-zag stitch on my machine, I am outlining each gear with a ribbon stitch. I set my stitch to 3mm wide and almost 0mm between stitches creating a smooth outline.
